Chords are one of the most important aspects of playing the violin, and playing them well is very important. You need to have the correct hand position and the violin proper restrung to achieve a good sound. There are a number of different violin chords that you need to learn to master. The best way to practice them is by practicing each one by itself for a few days before going back and focusing on the next.
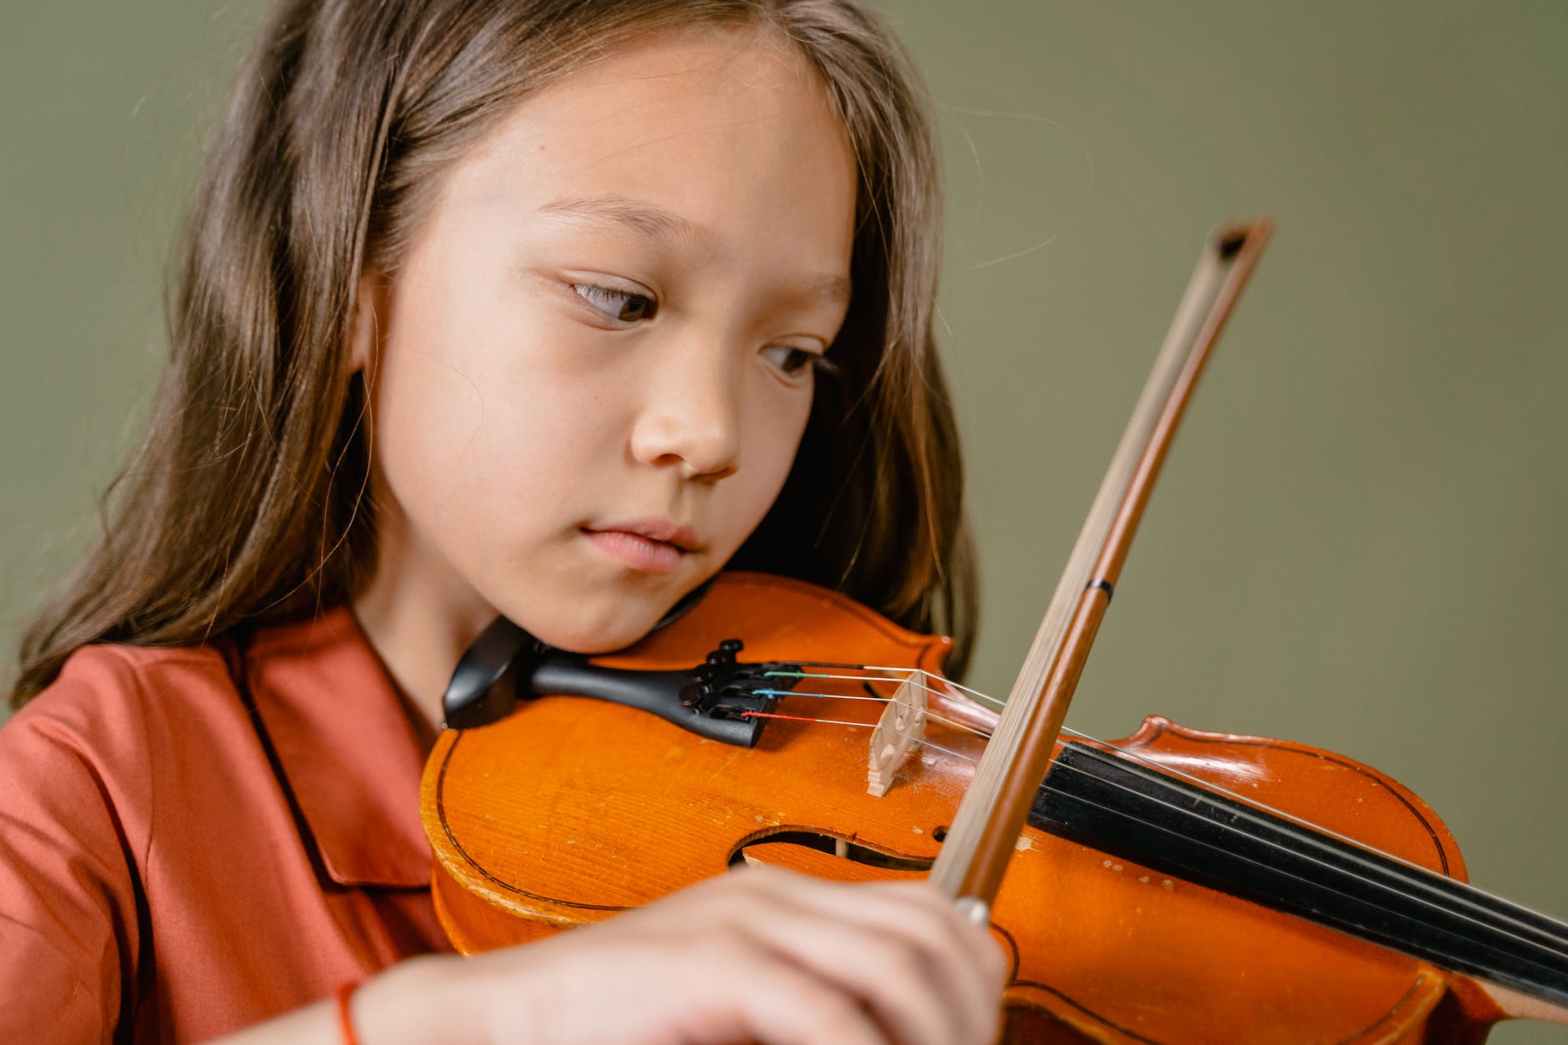
To begin learning your violin chords, you must be familiar with your violin and how to hold it in its proper place. If you are holding your violin correctly, the scroll of the violin should be parallel to the ground and the ribs of the violin should be parallel to the floor. You should put the violin in your lap and have the bow resting on your chin. Have the violin in your lap and bring it up to your shoulder. The violin strings should be horizontal to the violin’s body.
As you are holding the violin, look at your arm and notice how it is hanging loosely. The violin is hollow and you can notice the rosin that is on the violin when you first play the violin. To embed the rosin into the violin strings, you will need to take the rosin and glide it up and down the strings. You will need to apply a small amount of rosin to the strings, and you can do this by using a felt-tip or rosin-vacuum.
If you need to, you can purchase black, white, or clear rosin. Initially you should use black rosin, until you know how to get the right blend of rosin and humidity. White rosin is the best rosin to use when playing the violin. When you have rosin on your violin, you need to take your rosin with you.
You will need to rosin your bow every time you play, and you must not forget to use the rosin on the bow and string. You must apply rosin to your bow after cleaning the violin. You need to apply light, rosin-based rosin to the bow and apply it to the string and bridge as well. However, rosin-based rosin is hard to get so you will need to buy different kinds of rosin from a violin shop. When you have enough rosin on the violin, you can then move on to applying rosin to your strings.
You must make sure that when you have rosin on your violin, you place the rosined violin in a cloth. You must cover the entire violin. You must make sure that if you touch any of the strings, you must apply the rosin. You must make sure that you do not apply it to your bow, because rosin and cloth do not get together very well. You need to apply the rosin to your bow after you have rosin on your violin.
You need to apply a little bit of rosin to your bow, just enough to coat the bow. Just apply the rosin and make sure that you constantly use your bow. This will keep your bow from getting stick when you play the violin. After a while, you will be able to tell a difference in the way how your violin and bow look. Before you rosin your violin, you must understand that you need to apply rosin to the violin and bow, when you are trying to master the violin.
When you are ready to rosin your violin, take the rosin with you and apply it on your bow. Apply one end of the rosin to the bow while applying the other end to your violin. You need to make sure that the rosin and your bow are movement apart so that you can apply the rosin to the violin.
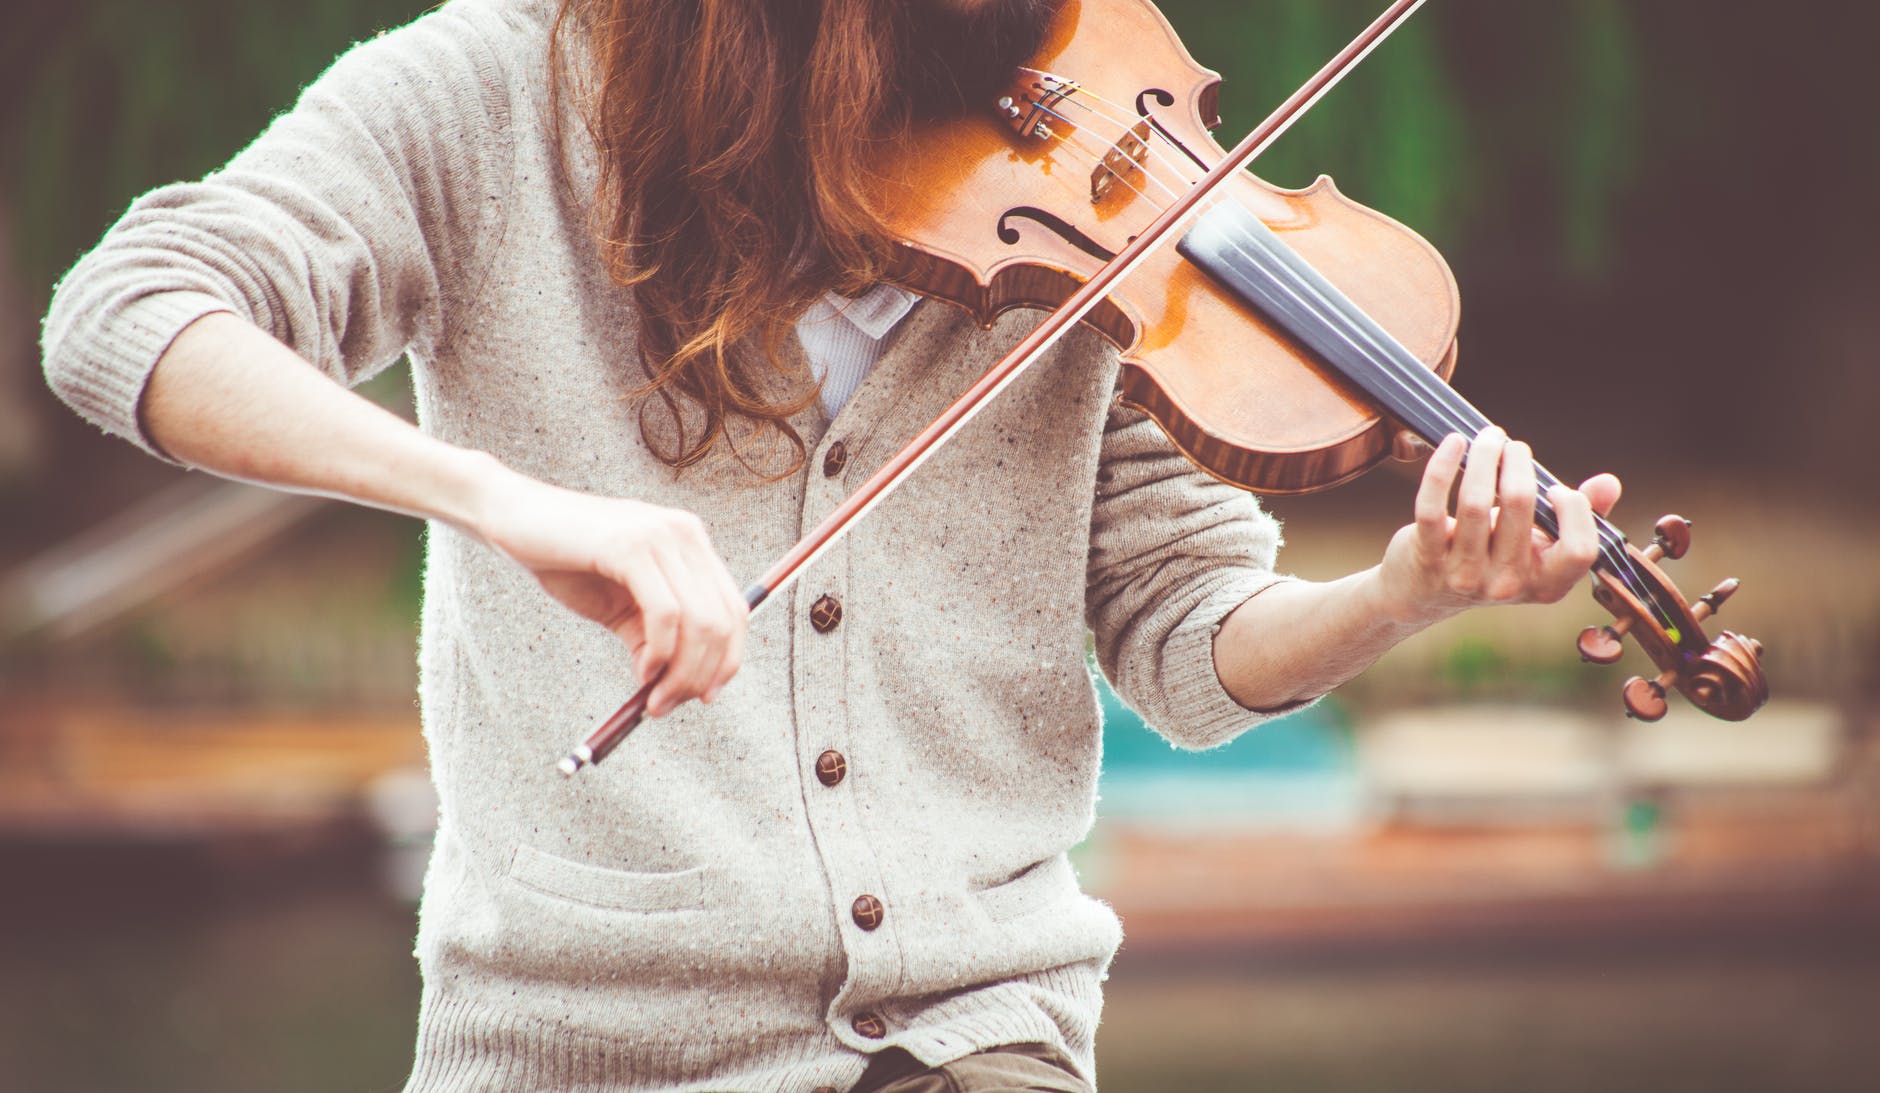
Take your bow and hold it a way that you are comfortable. As you take the bow, move it across the strings as you apply the rosin to your violin. Make sure that you hold it at a 45 degree angle and is neither cupped or straight. You need to apply a gentle, gentle rosin to your bow to make sure that you are creating a friction between the bow and the strings. Your bow should be sticky to the touch; you need to apply a lot of rosin to it if you want to make sure that you are successful in rosining your violin.
If you are not successful in your first attempt at rosining your violin, you probably need to try rosin a bit more often. You need to apply the rosin to a area of your bow and not across the strings. Keep trying, until you get the hang of it. You also want to keep an eye on the angle of your bow. While you’re getting the hang of it, you want to keep an eye on how your bow is being held.
